
# Sign in
Keywords: Password, Passcode, Ad-hoc session, Verification code, Verification link, Verification-Code, Verification-Link, Confirmation code, Security question, Log in, Sign in, Login SSO, Single Sign-On, Sign in with Microsoft, Sign in with Google, Identity Provider, 2-Factor Authentication, 2FA, Multi-Factor Authentication, MFA, TAN codeTo log in successfully, selecting the correct server and using your individual credentials are essential.
Expand table of contents
# Server and Address
The software is operated on various servers (e.g., location "Germany" or "Switzerland"). Because your account is permanently assigned to a specific server, you must use the correct web address in your browser.
# How do I find my server?
- As a Licensee: You received an email containing your personal login details and the corresponding server address.
- As a Contact: You received a contact request indicating which server your partner uses. You then created your own account on that server.
- As a Guest in an Ad-hoc Session: You do not need to log in. You can access the session directly via the link in your invitation.
Our Tip
Once you have identified your starting address, we recommend creating a bookmark in your browser. This allows you to reach your workspace with just one click in the future.
# Logging In to the Server
Once you are on the correct server, you will always find the "Log in" button in the upper right corner, unless the login dialog is already displayed directly on the page. Log in using the email address and password you specified when setting up your account.

# Special Case: Forgot Password
Keywords: Forgot passwordIf you ever lose track of your password, you can reset it independently at any time. To do so, use the "Forgot password" function in the login dialog.

# The Security Question
To reset your password, you must enter your registered email address and answer the security question you selected during initial setup.
Important regarding capitalization
The security question must be answered character-for-character. Pay strict attention to correct capitalization and potential spaces.
If you no longer know the answer to your security question, please contact our support team directly.
# Logging In via Single Sign-On (SSO)
Keywords: SSO, Single Sign-On, Microsoft Login, Google LoginOn selected servers or within specific corporate integrations, convenient login via Single Sign-On (SSO) is available. This allows you to use your familiar corporate or third-party credentials (such as Microsoft or Google) without having to manage a separate password.
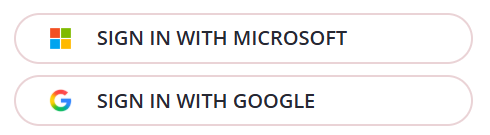
If SSO is enabled for your environment, you will find corresponding buttons below the standard login area:
# SSO Login Process
- Select provider: Click the desired button (e.g., “Sign in with Microsoft” or “Sign in with Google”).
- Verify account: If you are already logged in within your browser, authentication takes place automatically in the background.
- Enter credentials: If you are not yet logged in within your browser, enter your usual login credentials in the provider's window.
- Automatic redirection: After successful authentication, you will be redirected straight to your workspace.
Note on separate login windows
Depending on the security settings of your SSO provider or organization, a separate browser window (pop-up) may open for the authentication step. Once the login is complete, this window closes automatically and you will return directly to the platform.
# Login and Two-Factor Authentication
Availability Notice
Please note that two-factor authentication (2FA) is not available on all systems.
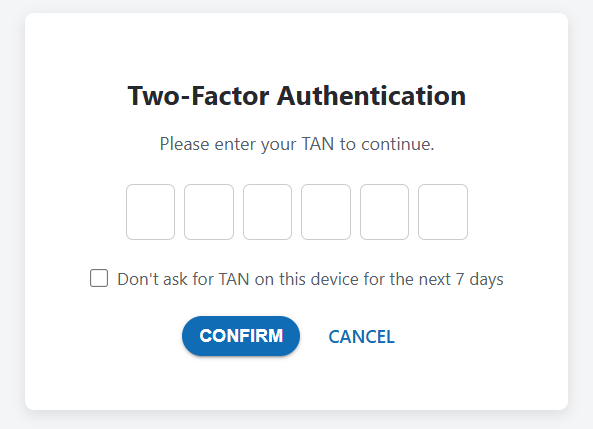
Once two-factor authentication (2FA) is enabled for your account, logging in requires an additional security step. After successfully entering your regular credentials (email address and password), the 2FA confirmation dialog opens automatically.
# Prompt for Initial Setup After Login
Depending on the configuration of the system you are using, a prompt may appear immediately after regular login asking you to set up two-factor authentication now.
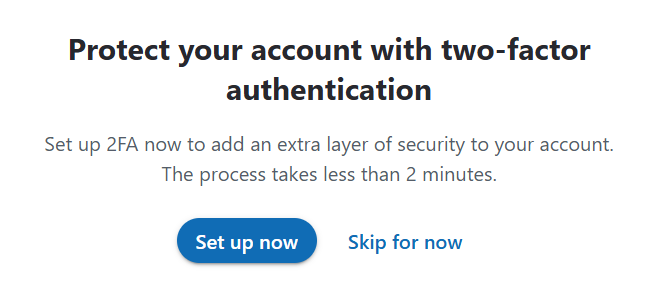
- Optional Setup: You can skip this step for now and perform the setup at a later time.
- Recommendation: We strongly recommend enabling 2FA to optimally protect your account from unauthorized access.
- Further Information: A step-by-step guide can be found in the chapter My Account – Two-Factor Authentication.
# Login Process with Active 2FA
Open Authenticator App
Open the authenticator app on your mobile device (e.g., Google Authenticator or Microsoft Authenticator).Enter 6-Digit Code
pin Read the currently displayed 6-digit security code (TAN) and enter it into the six input fields.Optional: Remember Device as Trusted
check_box Check the box "Do not ask for a TAN on this device for the next 7 days" if you regularly work on the same browser. During future logins within these 7 days, the TAN prompt will be skipped.Confirm Login
Click the CONFIRM button to complete the login process and be redirected straight into the application.
# Important Notes
Trusted Devices & Browser Features
The "remember" function saves an identifier specifically for your browser:
- Browser-Dependent: Trustworthiness applies strictly to the browser used (e.g., Chrome). If you switch to Edge, Firefox, or another device, you will be prompted for a TAN again.
- Deleting Cookies: If you manually or automatically clear your browser data or cookies, the association will be removed. Upon your next login, you will need to enter a TAN again even if 7 days have not elapsed.
- Manage / Reset Devices: You can revoke trust from remembered devices at any time. To do so, navigate after login to My Account > Two-Factor Authentication and click REVOKE TRUST.
Logout Upon Cancellation
If you click CANCEL in the dialog, the login process is immediately interrupted and you will be completely logged out. Access to the application and your account is only possible by entering a valid TAN.
Mind the Time Window
The code in your authenticator app is generated on a time-based schedule and typically refreshes every 30 seconds. If the code is about to expire, it is best to wait until a new code is generated before entering it.
Lockout Upon Repeated Incorrect Entries
If you enter an incorrect TAN repeatedly, your access will be automatically locked for security reasons. You will be redirected to an information page notifying you of the lockout.
Account Unlocking:
- Automatic: After a security period expires (typically one to several hours), your account will be automatically unlocked.
- Manual: Alternatively, a system administrator can unlock your account in advance.
Initial Setup of Two-Factor Authentication
Have you not yet set up two-factor authentication? Learn how to enable protection for your user account using an authenticator app on your smartphone in the chapter My Account – Two-Factor Authentication.
# Switching Sites: Navigation in the Platform
After logging in, you may initially find yourself on the public site.
# Switching to the Private Area
Click the "Start" button to go directly to your protected, private workspace.

# Switching Back or Changing Worlds
Would you like to return to the public site or switch to a different environment?
Method 1: Click the Public Website link.
Method 2:
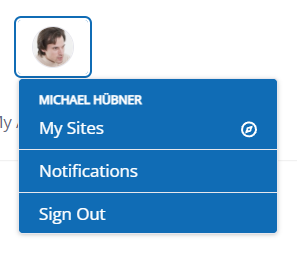
- Click your profile picture / account icon in the top right corner.
- Select "My Worlds" from the menu.
- Select the desired World.
Successfully logged in? Would you like to learn how to start your first ad-hoc session?
# Need Further Assistance?
If you experience issues logging in or receive error messages regarding your credentials, you can find detailed guidance on the most common causes in our Knowledge Base.
Helpful Links & FAQ
For additional support, please refer to our targeted FAQ articles:
- question_exchange FAQ: Issues with email address or password
- question_exchange FAQ: Issues with the verification code